4. Trigger Alert
You will now simulate an alert condition and verify that our alert triggers and you receive an email
Step 1 - Run a Python Application from Cloud9
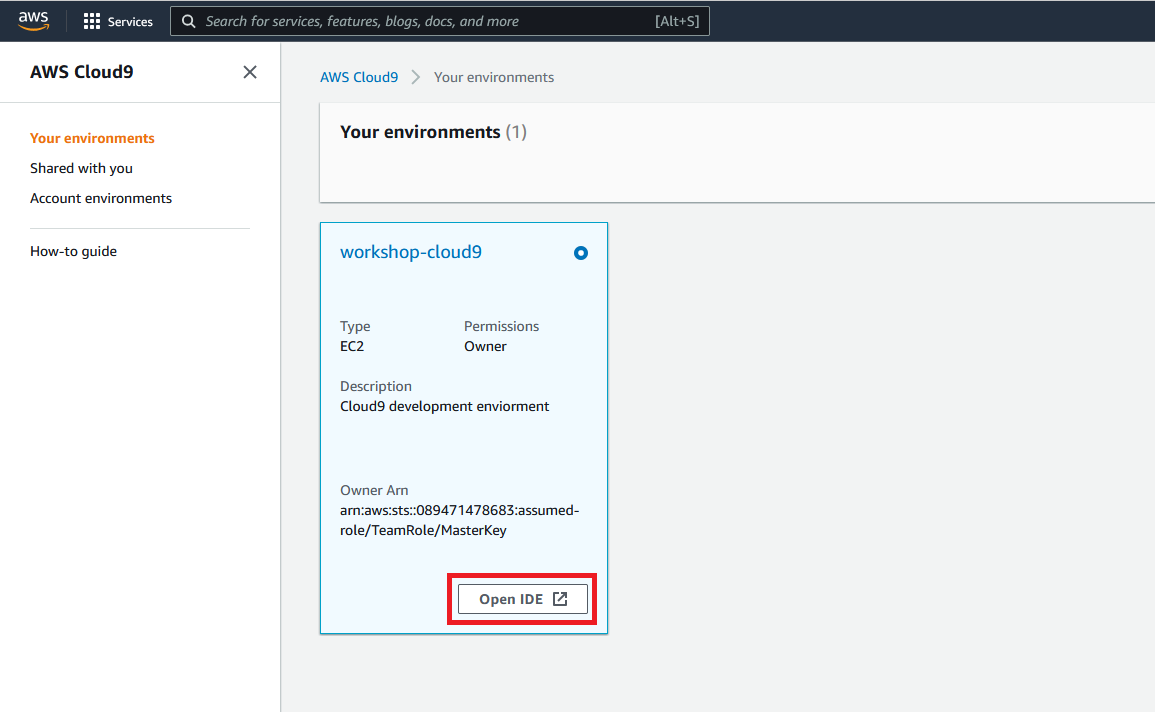
- Navigate to the Cloud9 Console
- Click on Open IDE under the already created workshop-cloud9 environment.
The OpenSearch_API_Examples repository will be automatically pulled down to your environment. Do the following within the Cloud9 console.
- Open the file OpenSearch_API_Examples/Alerting/2_trigger_alert.py
- Update the os_url variable to your OpenSearch instance. This is the value of the OSDomainURL key from the CloudFormation stack output.
- Goto File -> Save to save the changes to 2_trigger_alert.py
In the terminal window, run the following commands:
python OpenSearch_API_Examples/Alerting/2_trigger_alert.py
The image below highlights the commands.
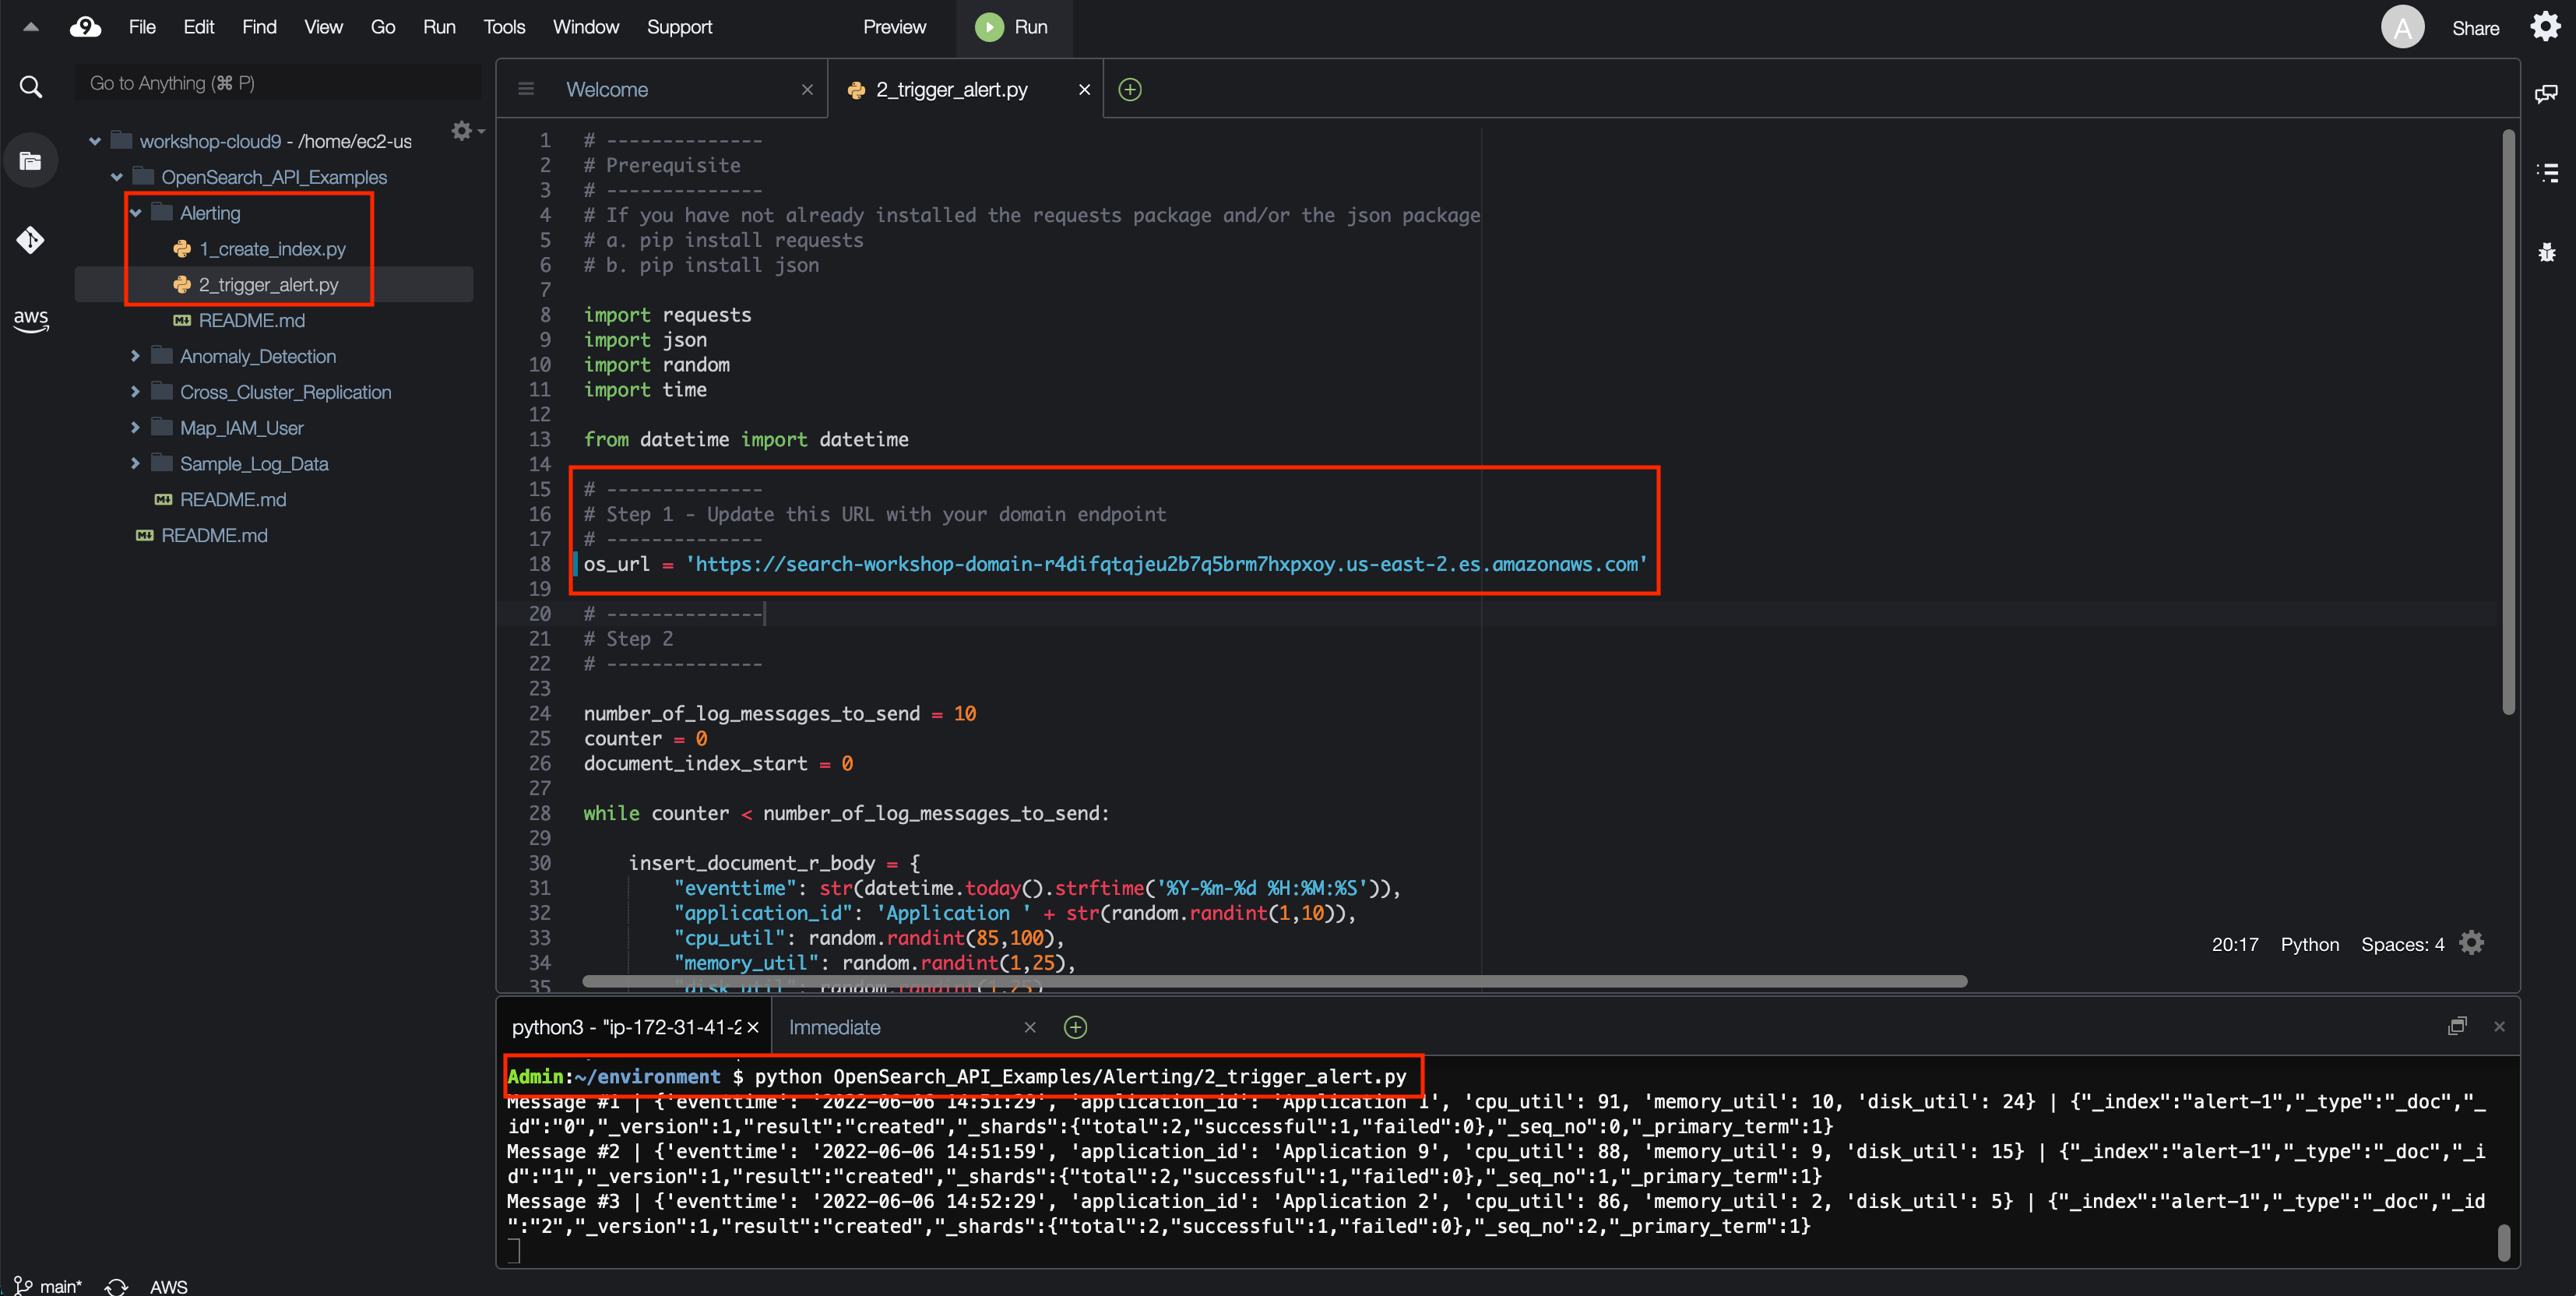
The script will to send high CPU values to OpenSearch until you stop the script. You can stop it with Ctrl-C in the terminal window.
Step 2 - Verify Alerting
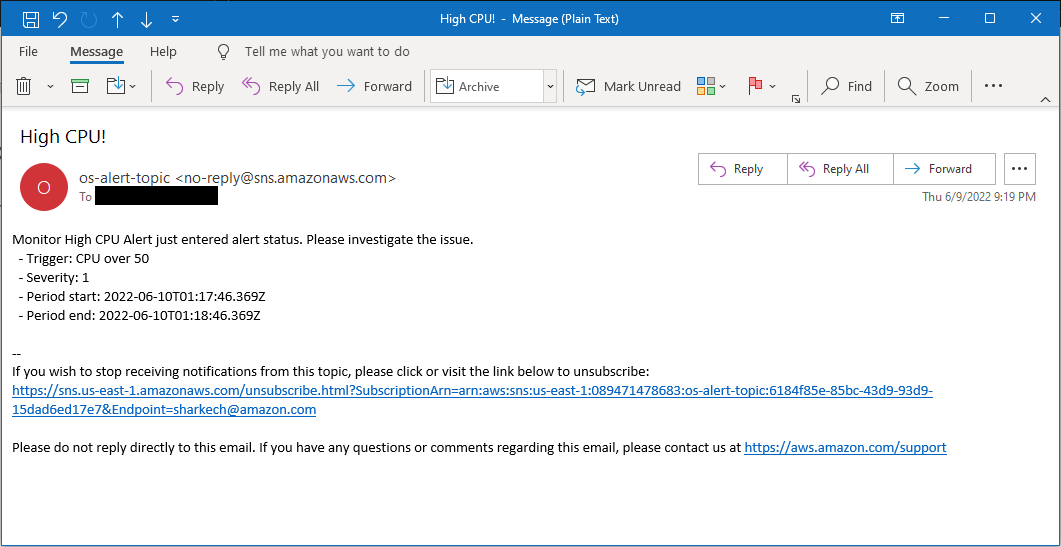
- Emails should have been received in the specified email address.
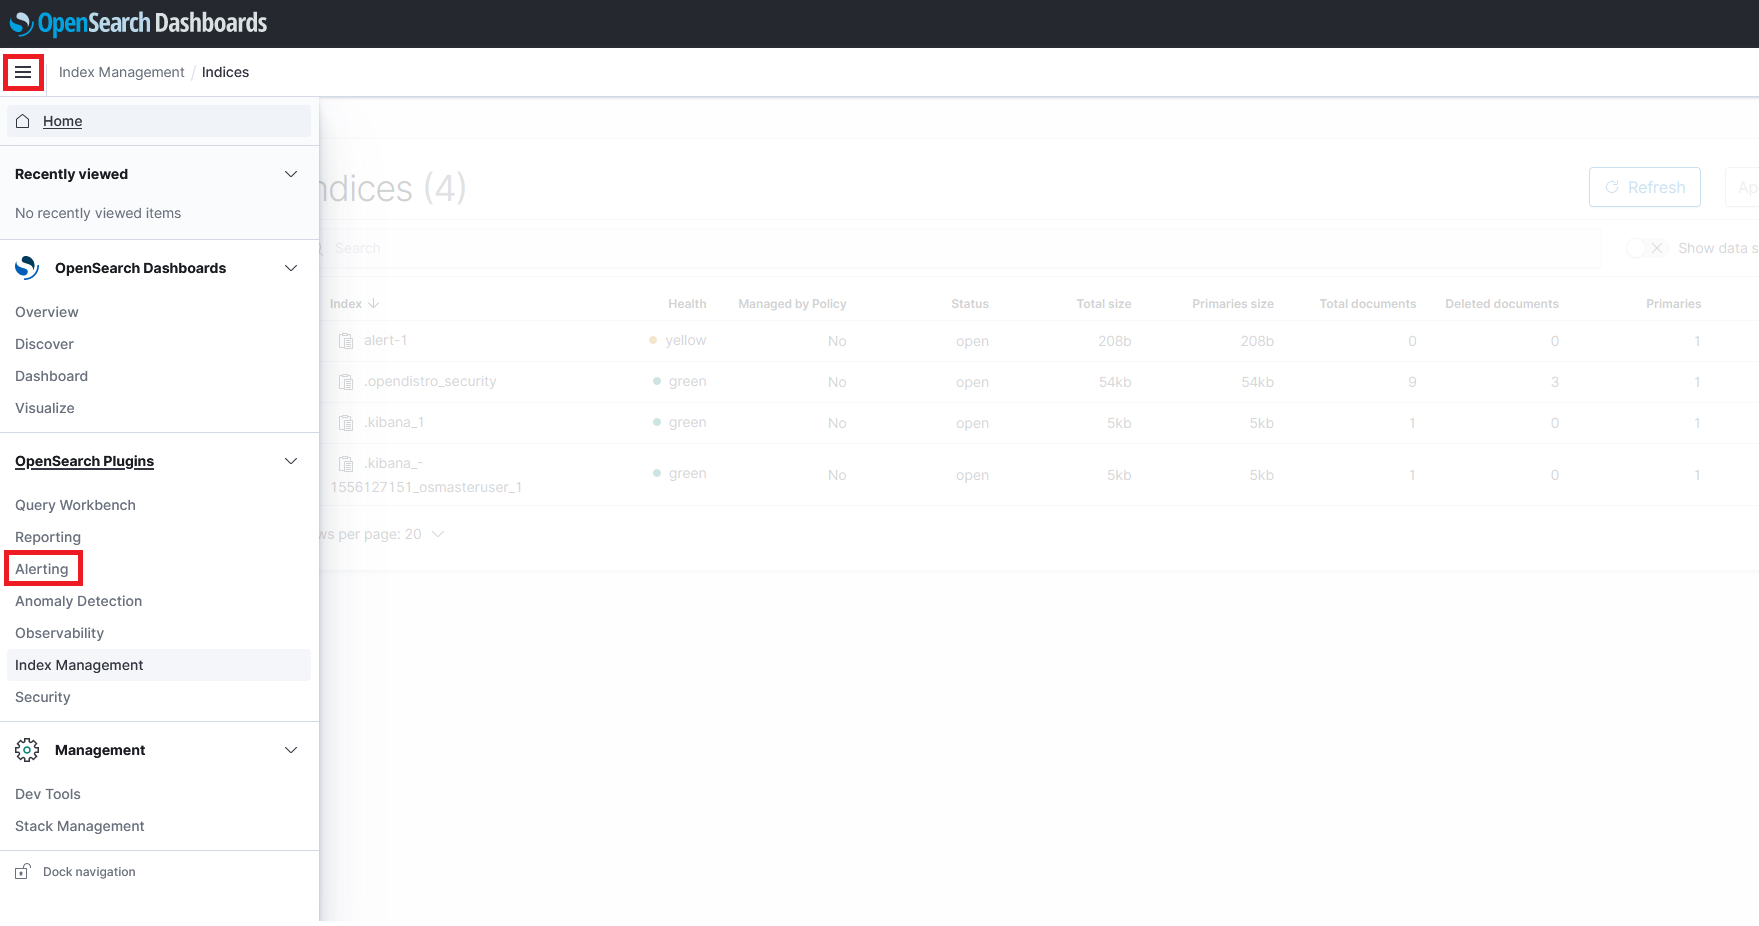
- Click on the top left hand menu on the OpenSearch dashboard
- Click on Alerting under the OpenSearch Plugins section
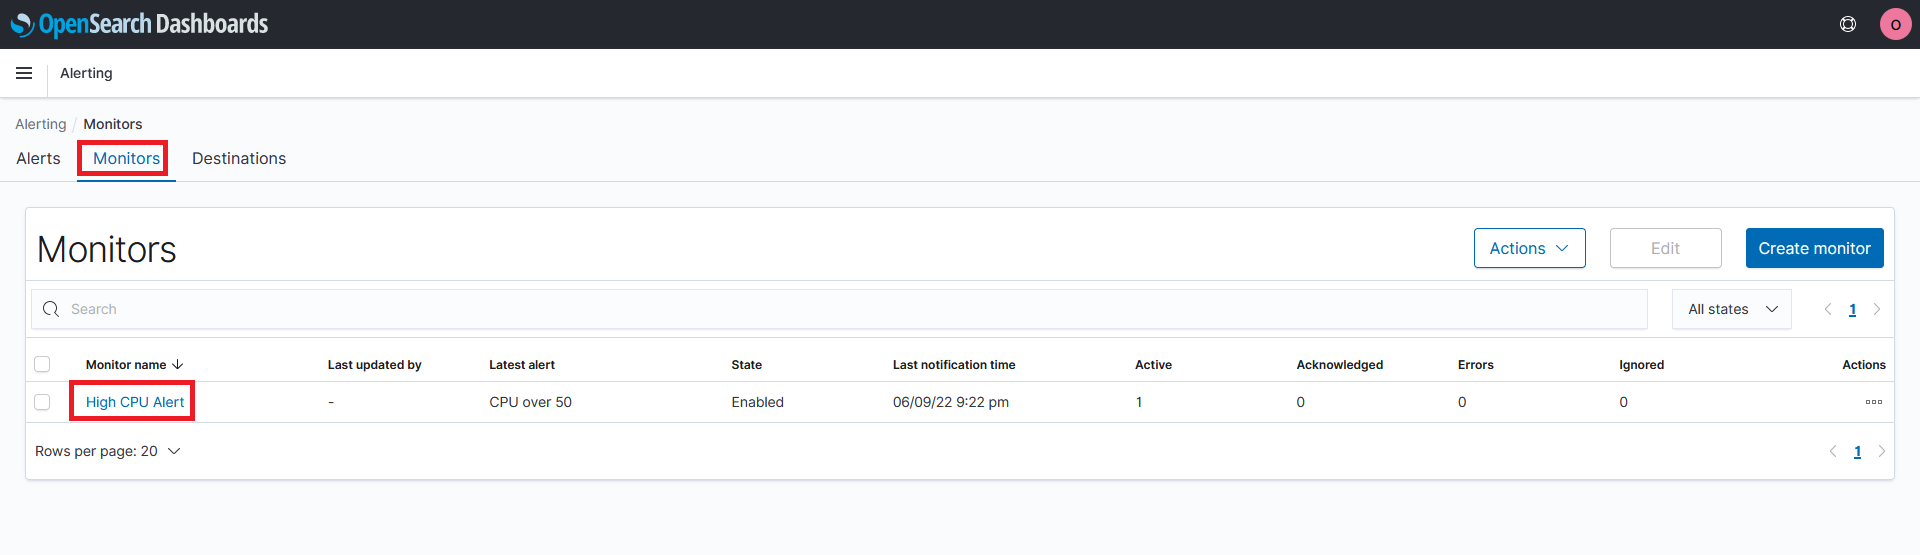
- Click on Monitors
- Click on the High CPU Alert
Observe the History section. You should see the Triggered status occurring.
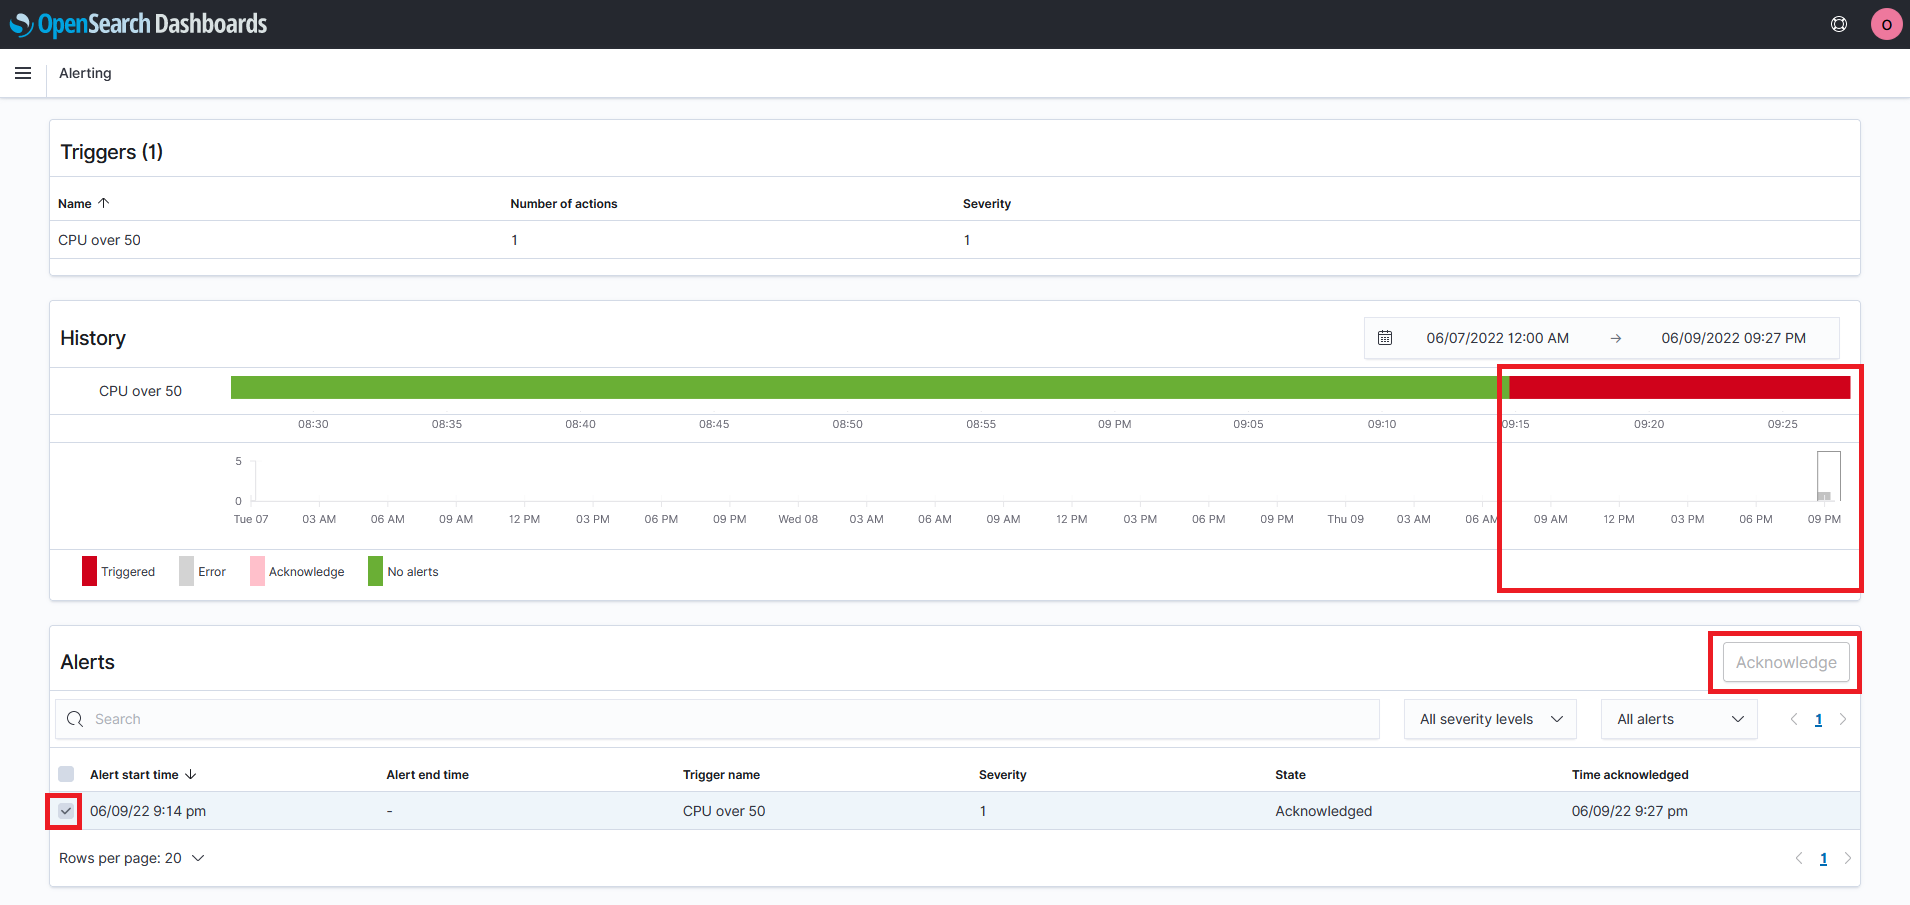
- Under the Alerts section, click on the alert and acknowledge the alert to stop receiving email.
When you are ready proceed to the next step Clean Up if you want to delete the resources you used for this workshop